I got the smart power strip and hooked everything up to a single button on the back panel. Now it's game time (hmm, maybe I should've played Q*bert first, but it'll definitely be within the first eighty games played).
I got the smart power strip and hooked everything up to a single button on the back panel. Now it's game time (hmm, maybe I should've played Q*bert first, but it'll definitely be within the first eighty games played).
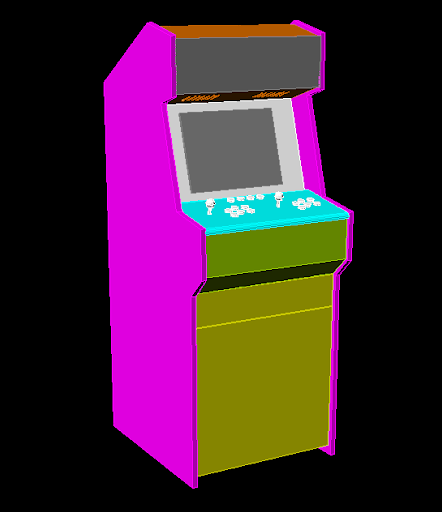
The end is near. Doesn't mean I'm getting closer to it though. But I see it.
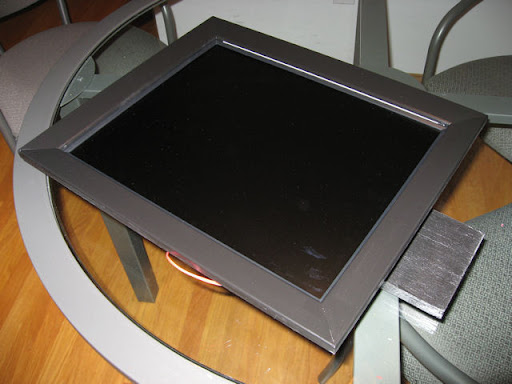
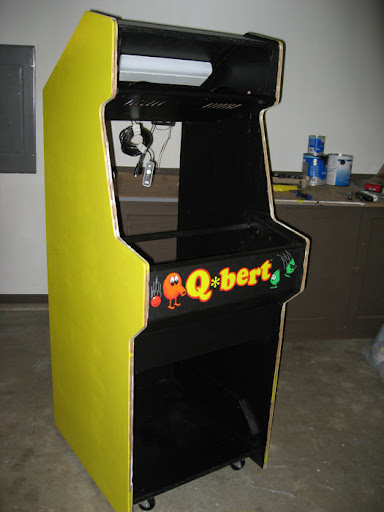
The LCD monitor is ready to be mounted. I made a custom bezel for it out of hemlock moulding. See below:
Since the LCD isn't magical and can't float in a fixed position in space, I need to mount it to the cabinet somehow. That somehow is just plywood that's attached to the back of the LCD using the standard mounting holes. I put some screws through it at 100mm spacing, and that's shown below:
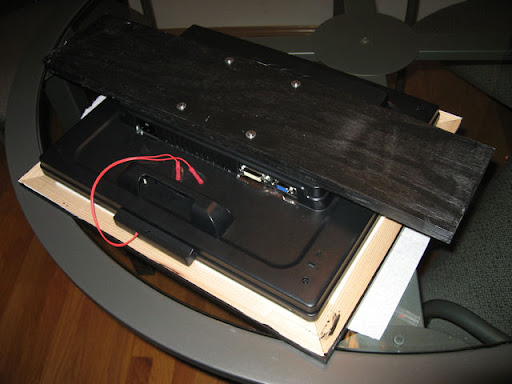
The board is as wide as the inside of the cabinet (23") so it'll be easy to mount it somehow.
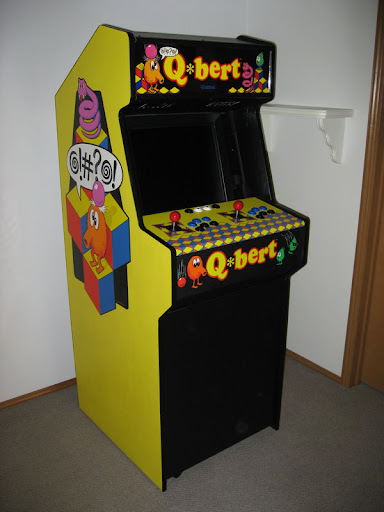
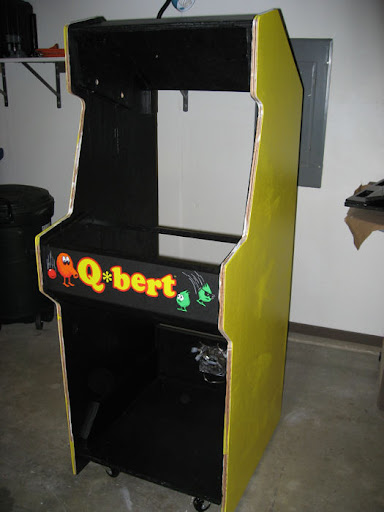
Hmm, looks like the yellow sides are splotchy. Screw it, I'm not put on any more coats. Maybe it'll even out when it dries and when the acrylic clearcoat is added. There's going to be big stickers on the sides anyway to distract attention.
The t-molding is going to make the cabinet look quite nice. That's probably the next step after the front door is attached.


In the next post you'll see the assembled pieces. But since this is a blog and you're reading backwards through time, you already know what it's going to look like.

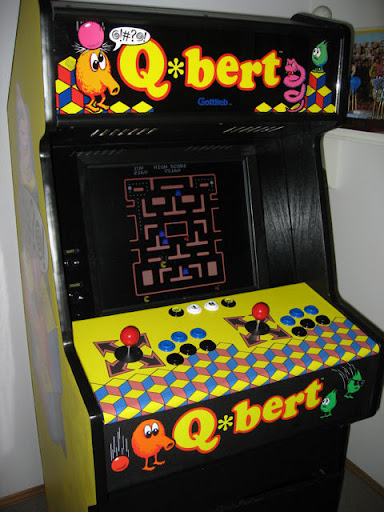
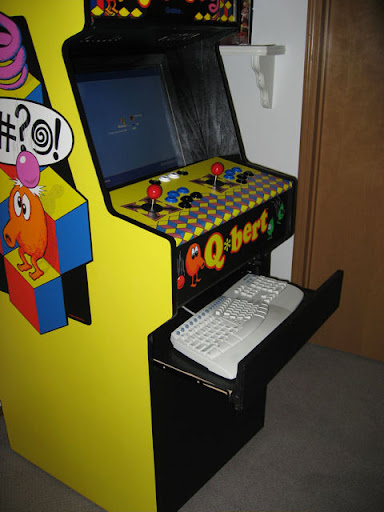
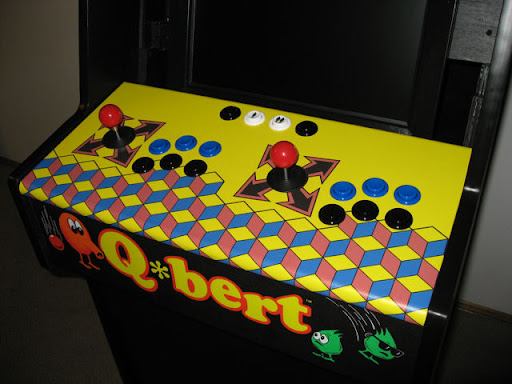
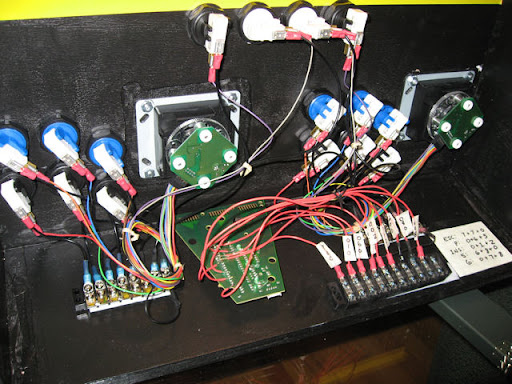
The Ultrastik sends both the joystick and button data to the computer through USB. That's why all the button wires end up going right into the ass of the joystick.


I've been waiting a while to actually install the joysticks and buttons, I got them before any of the real work began. They still need to be wired up.

Then a couple coats of semi-gloss black:


It was time to start putting the pieces together.

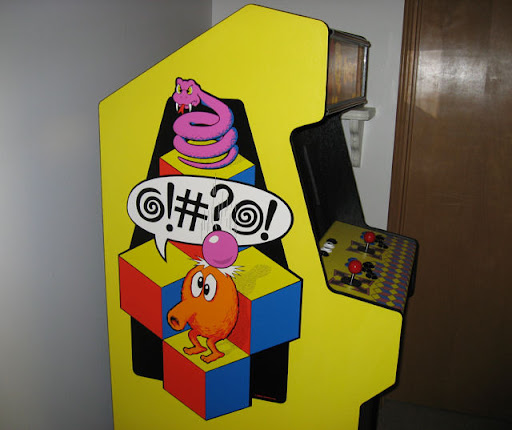
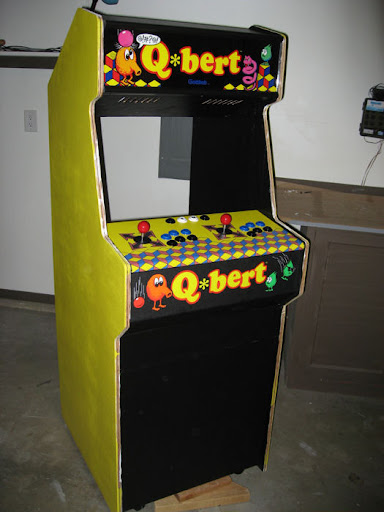
They are the marquee art (which will be lit up by a flourescent light) and the front panel art. The only art that didn't arrive yet is for the side panels, which was ordered from arcadeshop.com.
Artwork is a big part of the final cost. At first I wanted to paint all the images myself, which is totally doable, but that would've taken a long time. I'd rather be playing on the machine than spend tons of hours standing next to it making detailed paintings.
All prices include shipping:


I went with some expensive joysticks, so their total price was well over $100. It's possible to get joysticks for much less than that, but they wouldn't have analog control or a built-in USB connection.

Searching for info on the web was helpful in figuring out what should be done. It turns out that someone else already documented their Q*bert cab building process, and it's way better than what I will be doing. Here is a link: http://www.retro-arcade.net/
I assumed that the computer would be most of the total cost, and I already had one, so the whole project could be finished on the cheap. We'll see how wrong this is in future posts. (One thing that makes it wrong is that computers are stinky cheap now).
I didn't know if I would buy a new arcade cabinet shell, a used old game, or build one from scratch.
By the way, until my posts catch up with my progress, they'll be written in the past tense.